How to Hack It: Postgres to Google Sheets w/ Python | Census
Ollie GlassJuly 01, 2021
Ollie is a commercial and product-focused data scientist and engineer helping companies drive growth with data. He has extensive experience across the full data product development lifecycle: Working with stakeholders to understand ideas, gathering data, building pipelines, developing models, shipping to production, creating reporting systems, and communicating results.
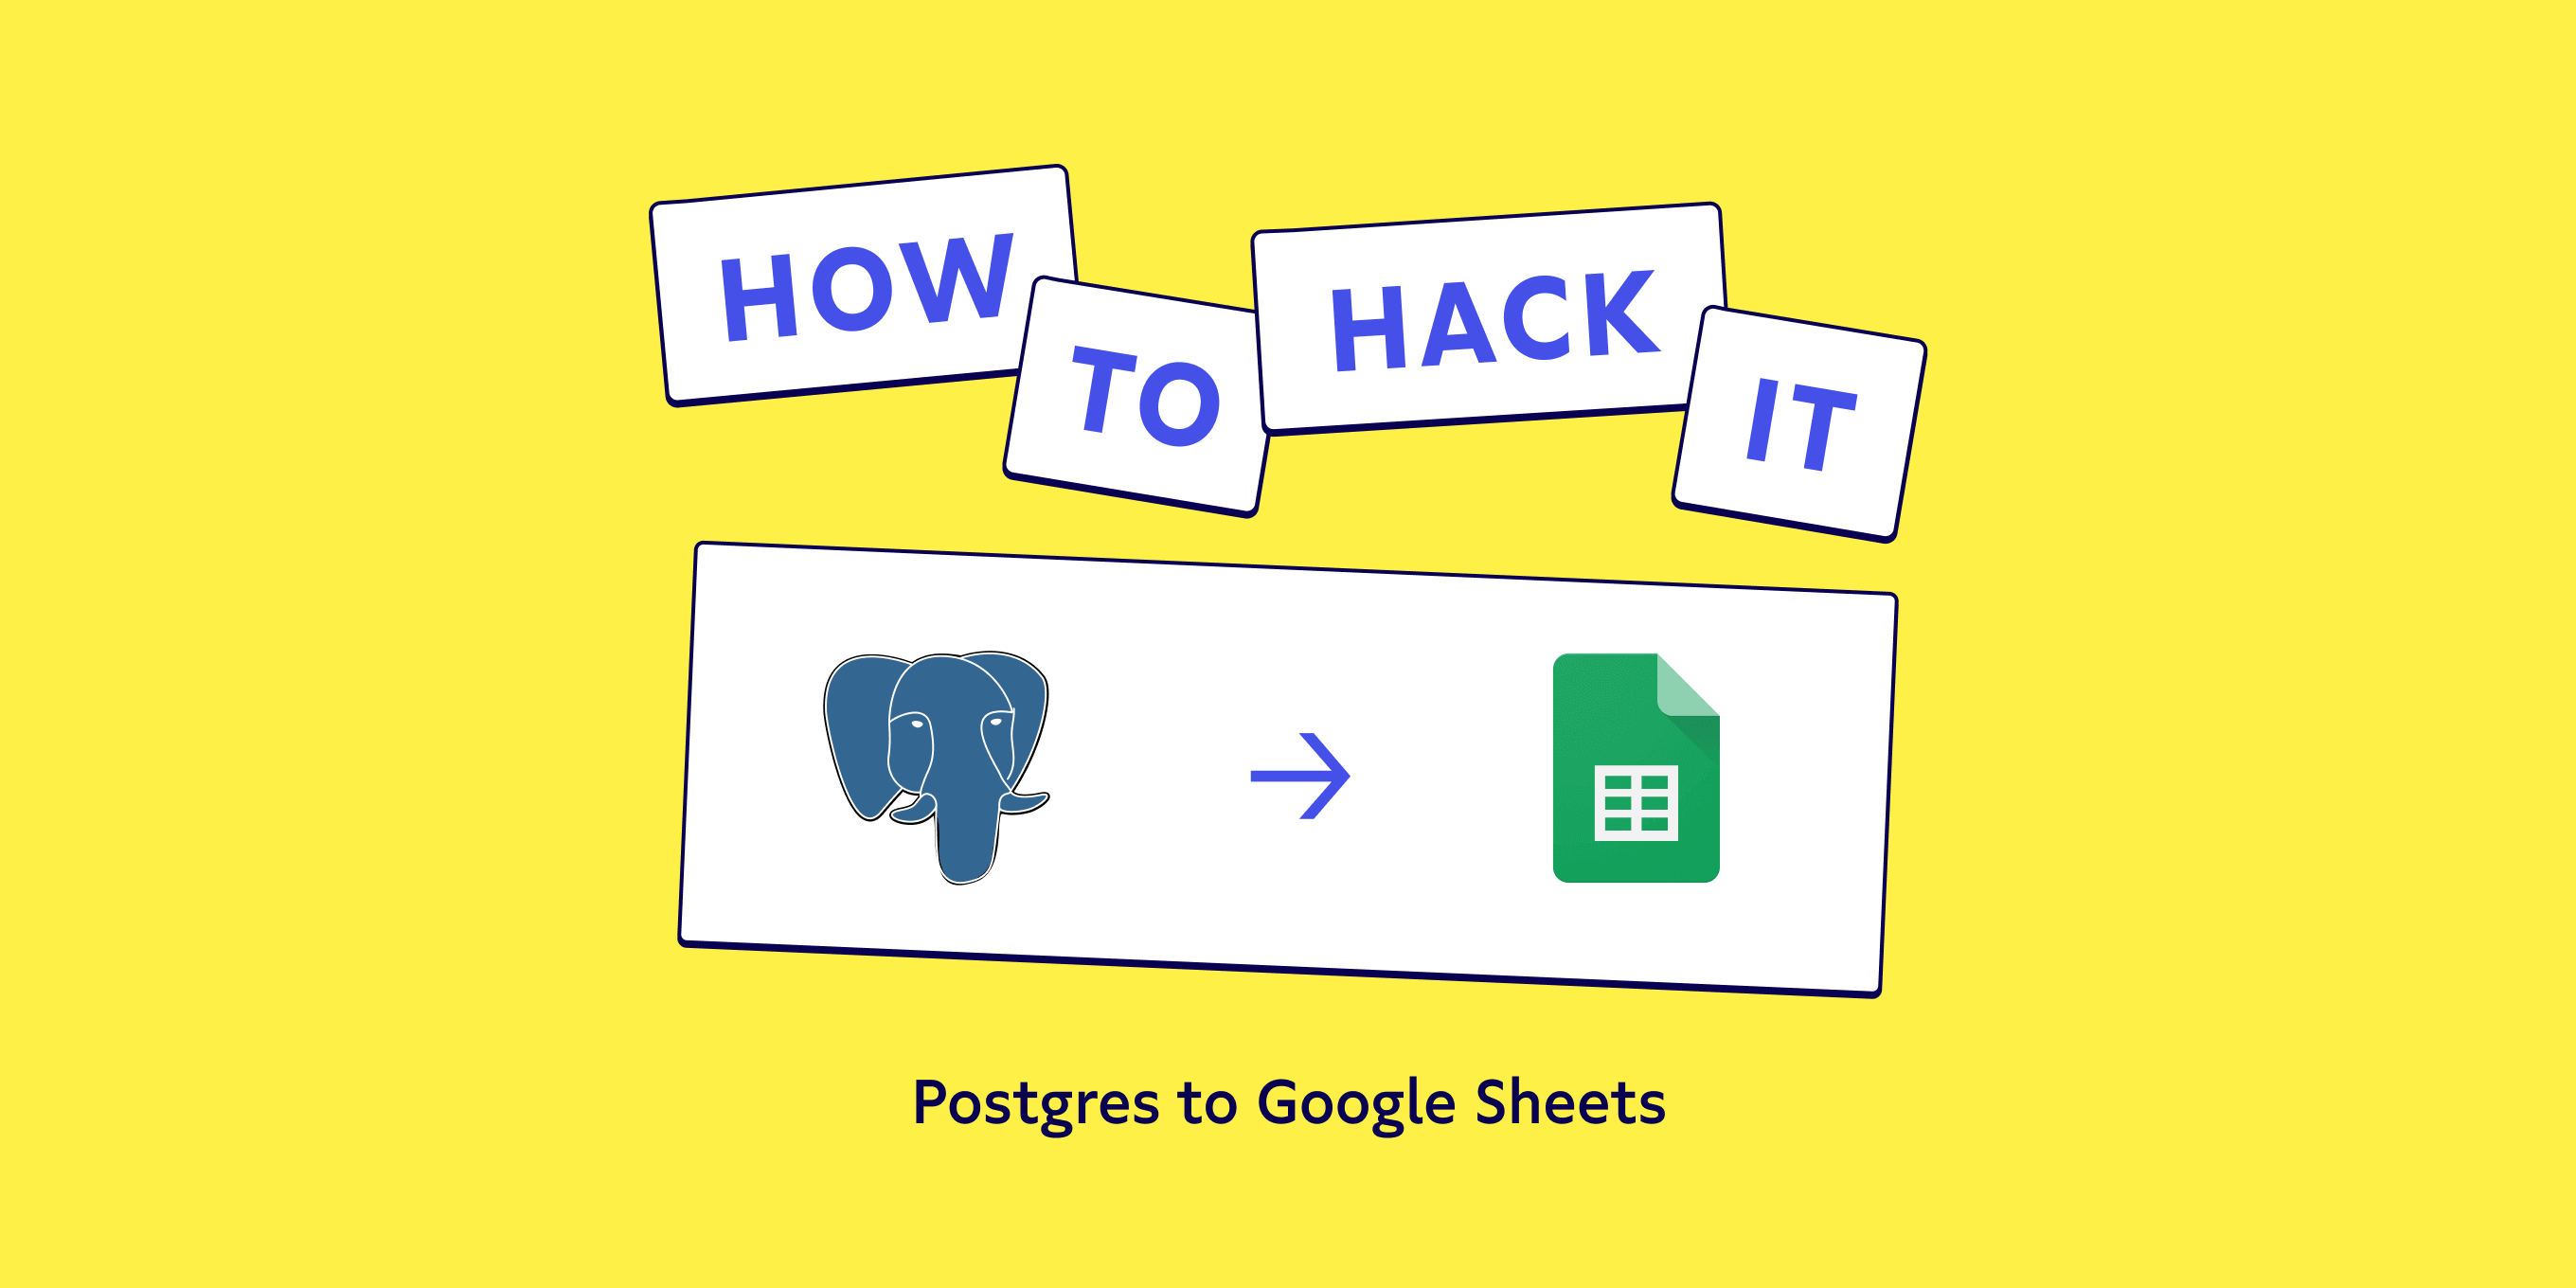
Let’s demystify reverse ETL. You’ve built your pipelines, ran your transformations, and loaded data into your data warehouse. Now you want to move it out from there into your tools. One of our favorite examples of this reverse ETL process is moving data from Postgres to Google Sheets with Python.
Why do we want to do this in the first place? Well, imagine we’re a direct-to-consumer eCommerce company selling artisanal pretzels to thousands of customers. We have a small named accounts team who’d like to know about any customers who’ve made a particularly large order each week so they can research them and consider reaching out. We already have this information in a dashboard but Google Sheets lets them add call notes and commentary, paste in information, and share everything easily among the team.
Here’s how we’d write some code to produce that sheet for them each week. In this piece, we’ll cover:
Getting started with Postgres 🏁
Setting up API access to Google Sheets 🚧
Sending data to Google Sheets with Python 📦
How to avoid custom code and scaling problems 🤗
Getting started with Postgres
First, you’ll need libraries. In 2021, we’re well served with high-level abstractions that make this task easier than it’s ever been. We’ll use psycopg2 and pandas to read from Postgres, then gspread and gspread-dataframe to send it to Google.
pip install pandas gspread gspread-dataframe
Connect to Postgres with a connection string containing the database username, password, host, and name. Use Pandas to run a query and retrieve the results.
We can get the SQL query from the pretzel company’s dashboard. It would probably look something like this:
SELECT account_name, order_size
FROM top_orders
ORDERBY order_size LIMIT50.
Here it is in action with Pandas.
import psycopg2
import pandas as pd
# connect to database
conn = psycopg2.connect("postgresql://user:password@host/name")# create dataframe from query
sql ="SELECT account_name, order_size FROM top_orders ORDER BY order_size LIMIT 50"
df = pd.read_sql(sql, conn)
Now we have our foundations set up. We can connect to the database and read from it, and we have the libraries installed to make writing to Google Sheets possible.
Setting up access with the Google Sheets API
Next up: Let’s get access to Google Sheets. Retrieving the credentials from Google Cloud Platform (GCP) is a little tricky and takes a few steps. You’ll need a GCP account for this part.
Our example pretzel company is already using GCP to host their database and dashboards, but if you don’t have one already just follow these steps:
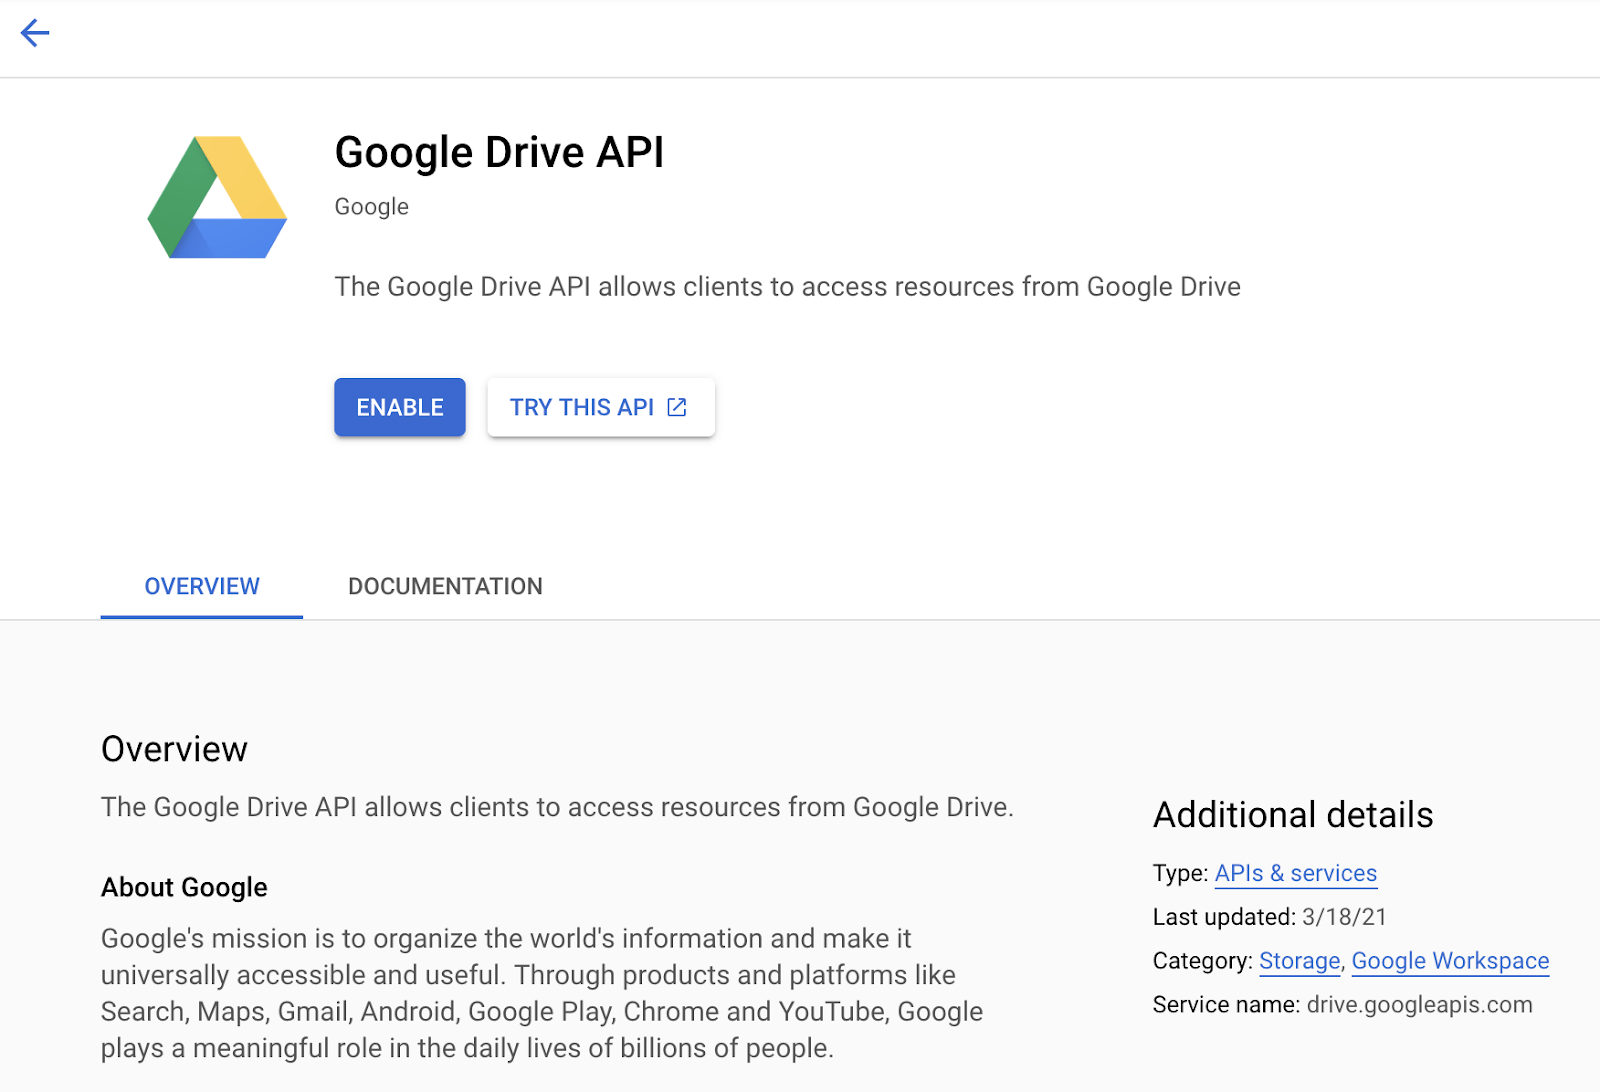
Now you’re in GCP! 🎉 Go ahead and start a project that can use the Google Drive API in the Google APIs Console and create a new project. Click APIs & services, then dashboard, then enable APIs and services. Search for the Google Drive API and enable it. You should see a screen like this:
Now we have the API enabled, click credentials and create a service account for server to server access. Give the account any name, ID, and description you’d like. Then click create and skip the optional steps to grant access to the project and users.
The last step in GCP is to edit the service account and add a key. Select the JSON key type and a file will download automatically. Move this into the folder with your code.
Finally, create a new spreadsheet in Google Drive and copy the key from the URL. The key is the part that looks like, you guessed it, a key--a long sequence of letters and numbers, like this:
https://docs.google.com/spreadsheets/d/1esyY_up3moS..this part is the key..LNccRY/edit#gid=0
Congrats, all of the pieces are in place! We have code to read from Postgres, and our new GCP account lets us write data to a Google Sheet. Now we’ll extend our code to write our data into the sheet.
Sending data to Google Sheets with Python
Back to Python. Let’s import the gspread and gspread-dataframe libraries, open that Google Sheet programmatically, and write our Pandas DataFrame to it.
import psycopg2
import pandas as pd
import gspread
from gspread_dataframe import set_with_dataframe
# connect to database
conn = psycopg2.connect("postgresql://user:password@host/name")# create dataframe from query
sql ="SELECT account_name, order_size FROM top_orders ORDER BY order_size LIMIT 50"
df = pd.read_sql(sql, conn)# open the first tab (worksheet) of the Google spreadsheet
gc = gspread.service_account(filename="google_creds_file.json")
sh = gc.open_by_key("google_sheet_id")
worksheet = sh.get_worksheet(0)# write the dataframe to the worksheet
set_with_dataframe(worksheet, df)
That’s it! If you run the script with your Google Sheet open in your browser you can watch the data appear. ✨
How to avoid custom code and scaling problems
In some ways, connecting Postgres to Google Sheets couldn’t be a simpler data flow. That’s why we chose it for this example. But it’s building all the extras around the flow that makes it hard to scale. Small scripts like these are quick to write and can carry a small team a long way. But if things are going well and they’re being used often then the demands on them can create a lot of technical debt quickly.
Well, almost. We also need to set that script up to run automatically each week. And maybe we want to create a new sheet or tab instead of replacing the data. Our colleague probably wants to keep all the notes they add and have the history to look back on. Then, maybe, they want a way to index those notes and find them again, so we could put the data in the title or tab name for future reference. Maybe our team wants to exclude any customers they already work with. Perhaps they’ll want some historic order data so they have insights into the other snacks customers might want or locations we need to ship to.
TL;DR: It gets complicated fast! 🙈
That’s why I recommend building integrations with scale in mind from the jump. You can struggle through custom code and add ons, or you can let us do the heavy lifting. Census can take all the custom connectors off your plate to make it easy to sync your customer data from the warehouse to your tools.